UV Kit 2.0#
Installation#
Compatibility#
| Maya | 2019 | 2020 | 2022 | 2023 | 2024 |
|---|---|---|---|---|---|
| ✓ | ✓ | ✓ | ✓ | ✓ |
How to install#
-
Extract the RS_Assets folder from the RS_Assets.zip
-
Extract RS_UV_Kit.pyc from RS_UV_Kit_MAYAVERSION.zip (depending on your Maya Version)
-
Copy RS_UV_Kit.pyc or RS_UV_Kit.py (Studio Version) and the RS_Assets folder to:
Attention
If an RS_Assets folder already exists in the location below, please copy the RS_UV_Kit folder (from inside the extracted RS_Assets folder) and paste it into the RS_Assets folder in the location below.
-
Launch / Restart Maya
-
In Maya, open a Python Tab in the Script Editor and execute :
Attention
Please make sure that there are no Space characters in front of each code line.
Environment Variables#
-
To set and use a custom folder location, please open the Maya.env file.
-
Add the following lines to the Maya.env file:
MAYA_SCRIPT_PATH = path\to\your\custom\script\folder
PYTHONPATH = path\to\your\custom\script\folder
RS_TOOLS_PATH = path\to\your\custom\script\folder
Attention
- Replace path\to\your\custom\script\folder with the actual path to your scripts.
- Make sure there is no forward slash (/) or backward slash (\) at the end of the path.
Interface Basics#
Tool Menu#
![]() UV Tools
UV Tools
![]() UV Editor / UV Sets Editor
UV Editor / UV Sets Editor
![]() About / Links / Shortcuts
About / Links / Shortcuts
Tool Settings#
Indicator
A blue line underneath an icon indicates that optional tool settings are available.
How to open?
Open the settings with a RMB 2 click.
Position & What settings are open?
-
The settings widget will appear at the bottom of the tool.
-
The background of an icon button turns dark gray to indicate it's settings are currently open.
How to close?
To close the settings page RMB 2 click the active button again.
Tooltips#
- Hover over a button until a tooltip shows up.
- Tooltips include information about available Modifier Alt Ctrl Shift and RMB 2 settings options.
Please make sure that tooltips are enabled!
In Maya's main menu go to:
Windows > Settings / Preferences > Preferences > Interface > Help
and check DisplayToolClips under PopupHelp
Expand / Collapse tabs#
It is possible to expand or collapse all tabs on an active page.
Expand
Ctrl click on
![]()
Collapse
Alt click on
![]()
Note
A settings page will automatically close when expand or collapse all tabs is used.
Keyboard Shortcuts#
It is possible to control aspects of the tools interface with keyboard shortcuts.
Access pages
1 - UV Tools Page
2 - About Page
3 - Toggle Tool Menu Visibility
Requirements
The tool needs to have focus, for the shortcuts to work.
Expand / collapse tabs
Ctrl + 1 to expand all tabs on the UV Tools Page
Alt + 1 to collapse all tabs on the UV Tools Page
Attention
This only works on the currently active page.
Minimize to main menu
Alt + 3 to minimize the tool
UV Editor / UV Sets Editor#
Open UV Editor: LMB 1 click ![]()
Open UV Sets Editor: Alt click ![]()
About Page#
Access the About page by clicking on ![]()
The page contains information about the tool, several web links and an option to set up hotkey shortcuts.
Interface - About Page#
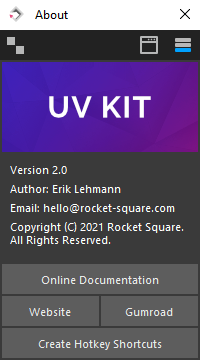
Create Hotkey Shortcuts#
Click on the Create Hotkey Shortcuts button to make a UV Kit launch function available within Maya's hotkey editor.
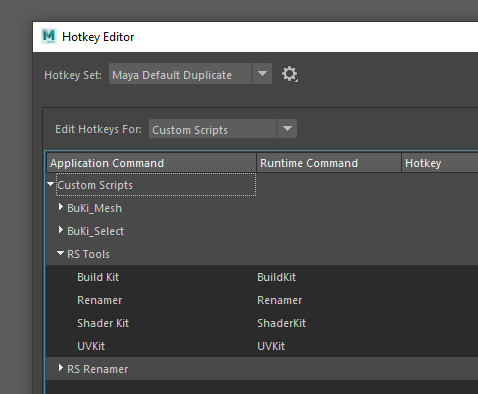
Info
Access the Hotkey Editor under Windows > Settings/Preferences > Hotkey Editor
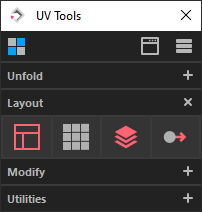
Unfold Tab#
Interface - Unfold Tools#

Unfold  #
#
Automatically cuts selected edges, unfolds (based on Unfold 3D) and packs the shells.
How to use
-
Make a UV projection of your object. (LMB 1 click
 )
)Tip
For best results make a Camera instead of an orthographical (X, Y, Z) projection.
-
Select your desired cutting edges
- Click on to run the script
Settings
Projection #
Create UV texture coordinates for the selected object using a planar projection shape.
How to use
- Camera: LMB 1 click
- X-Axis: Alt click
- Y-Axis: Ctrl click
- Z-Axis: Shift click
U / V  #
#
Unfolds UV selections horizontally, vertically or freely in both directions.
How to use
- Horizontal Unfold: LMB 1 click
- Vertical Unfold: Alt click
- Free Unfold Ctrl click
- Pin selected UVs during Unfold: Add Shift
Gridify  #
#
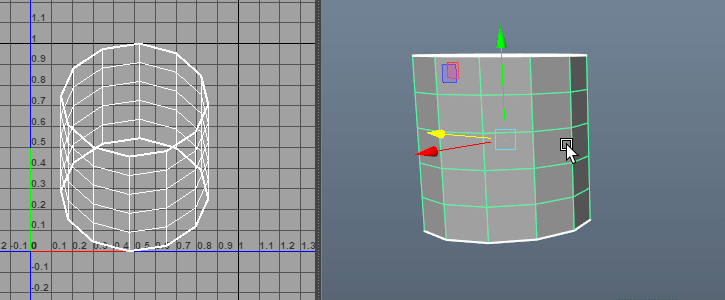
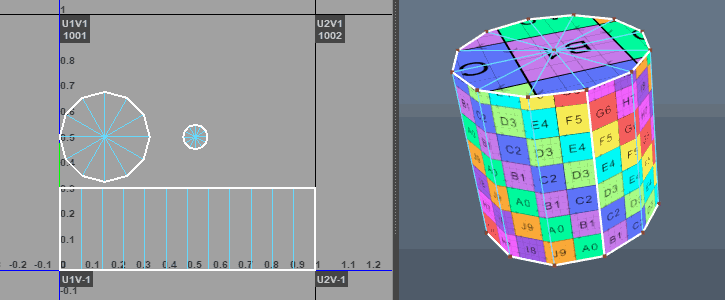
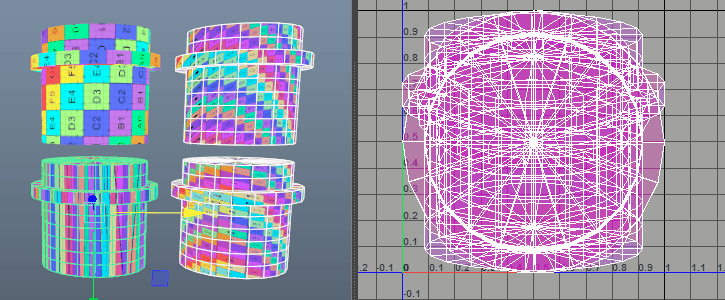
Automatically unfolds cylindrical shapes based on a cutting edge selection.
How to use
-
- Make an edge selection on a cylindrical shape that serves as the cut line
Cylindrical Shape:
- LMB 1 click
-
Cable with caps:
-
Make an edge selection that serves as the cut line of the cable
-
Alt click
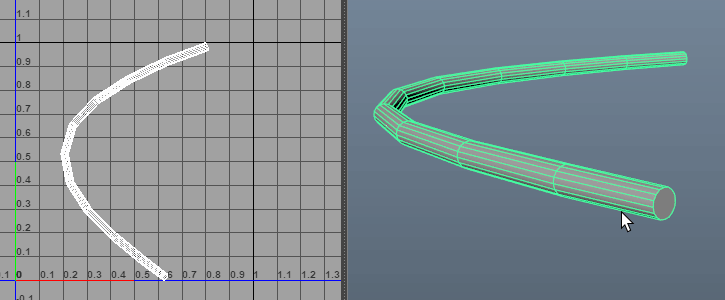
-
Layout Tab#
Interface - Layout Tools#
Layout  #
#
Arranges the UV shells of objects and scales them uniformly.
How to use
Settings
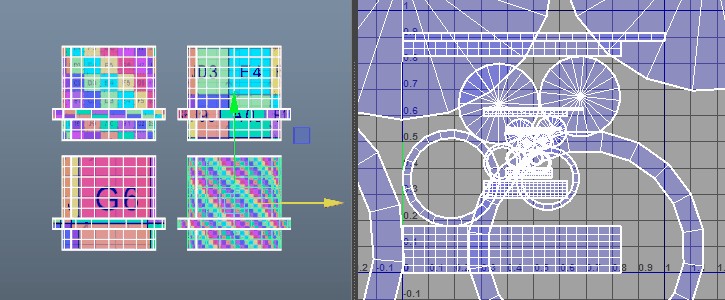
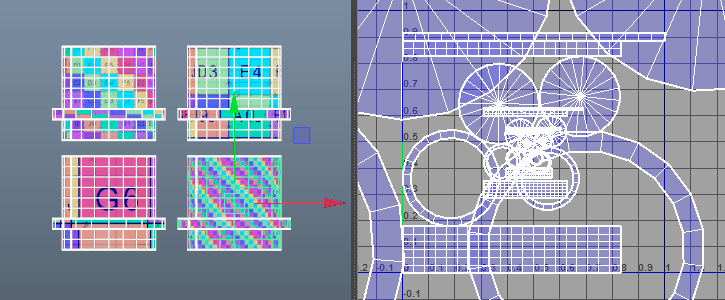
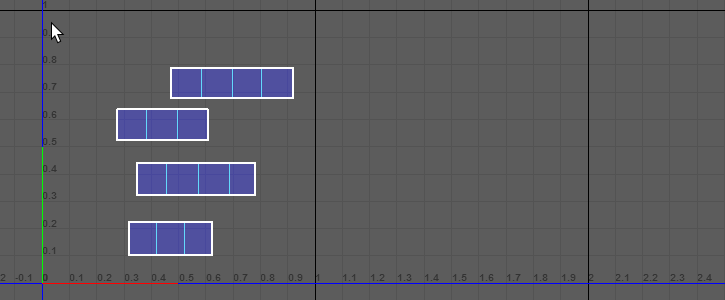
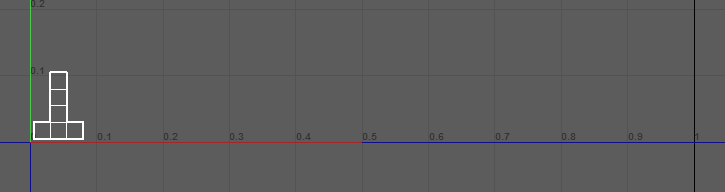
Grid Arrange  #
#
Arranges the UV layouts of objects with a uniform scale within a grid pattern.
How to use
Settings
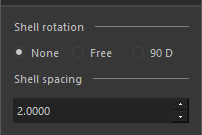
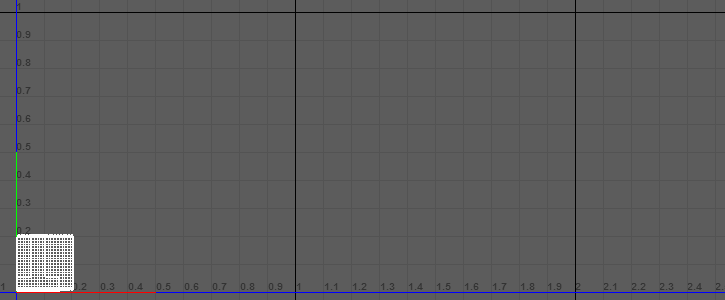
Stack  #
#
Stack UV layouts or shells.
How to use
Settings
Spread  #
#
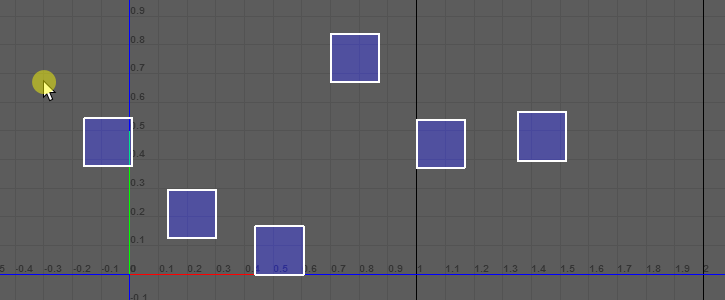
Precisely spread out overlapping UV layouts based on an input value. This operation works with objects and groups.
How to use
Settings
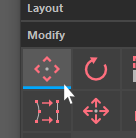
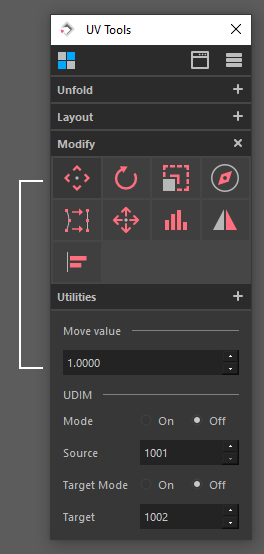
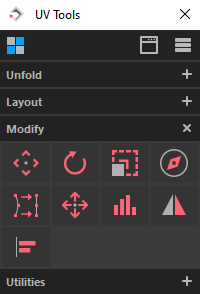
Modify Tab#
Interface - Modify Tools#
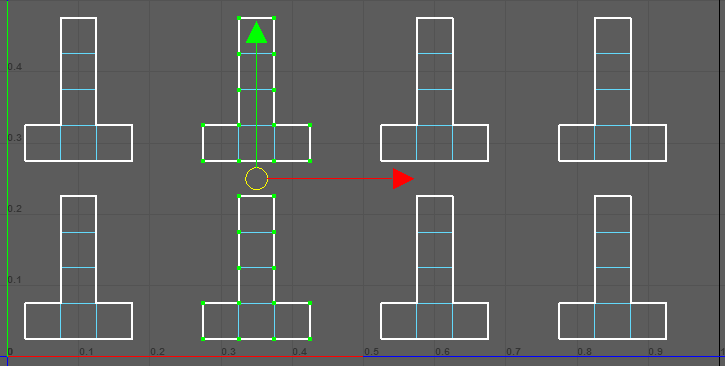
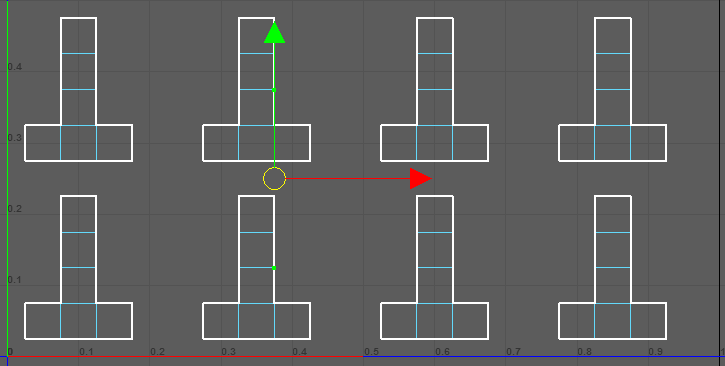
Move  #
#
Move selected UVs or UDIMS.
How to use
-
- Select UVs
- Set preferred Move value in the RMB 2 settings
- Move:
- Right: LMB 1 click
- Up: Alt click
- Add Shift for opposite directions (Left, Down)
- Right: LMB 1 click
Move UVs:
-
Move UDIMs:
- Select Objects
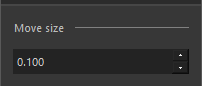
- Set preferred Move value in the RMB 2 settings
- Turn UDIM Mode to On
- Specify a UDIM Source
- Move UDIM:
- Right: LMB 1 click
- Up: Alt click
- Add Shift for opposite directions (Left, Down)
- Right: LMB 1 click

-
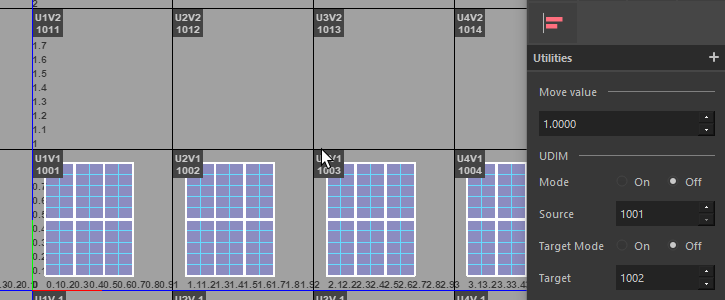
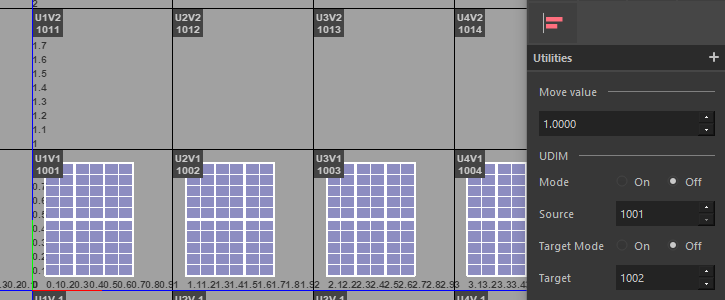
Move a UDIM to a specific target position:
- Select Objects
- Turn on both the UDIM and the Target Mode in the RMB 2 settings
- Set a Source UDIM (The UDIM you want to move)
- Set a Target UDIM (Where you want to move your source)
- LMB 1 click
Settings

Rotate  #
#
Rotate selected UVs.
How to use
Settings

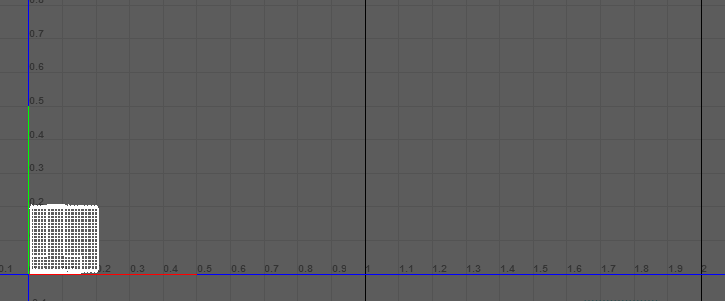
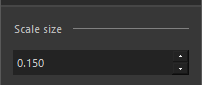
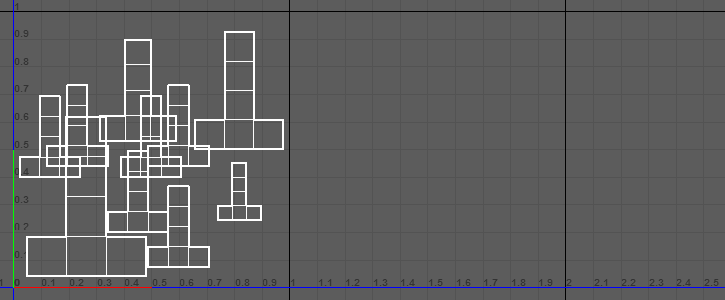
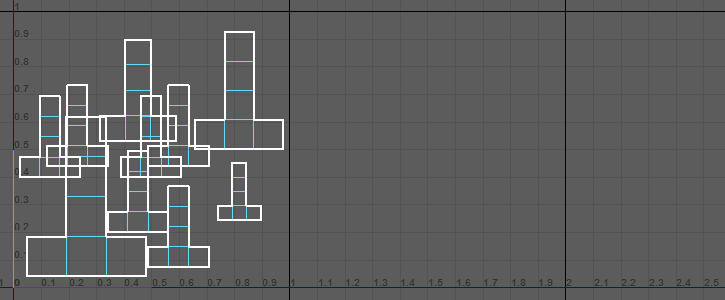
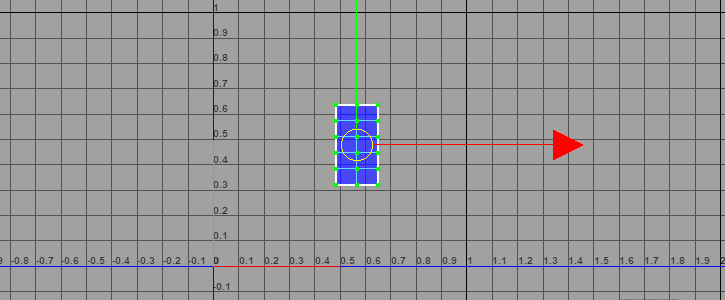
Scale  #
#
Scale selected UVs by value or locally.
How to use
- Scale selected UVs by value:
-
- Select only 1 UV from each UV Shell you want to scale
- Alt click to launch the scale process
- In the new window - Use the Slider to interactively scale the UV shells
- Click the Done button to finish the process
Scale locally:
Settings
Orient  #
#
Orient selected UV Shells.
How to use
- Orient to run parallel with the closest U or V axis: LMB 1 click
- Orient in X-Axis: Alt click
- Orient in Y-Axis: Ctrl click
- Orient in Z-Axis: Shift click
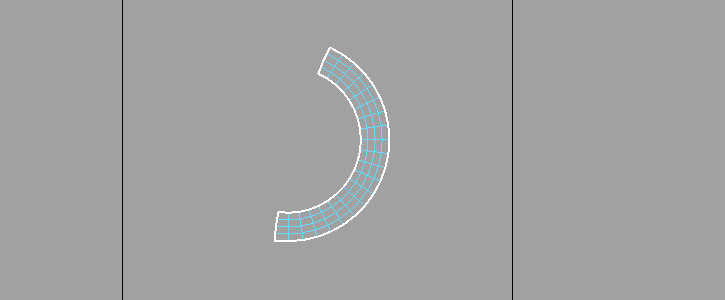
Straighten  #
#
Straighten selected UVs.
How to use
- Straighten selected UVs (works best with small curvatures):
- Select UVs or UV Shells
- LMB 1 click
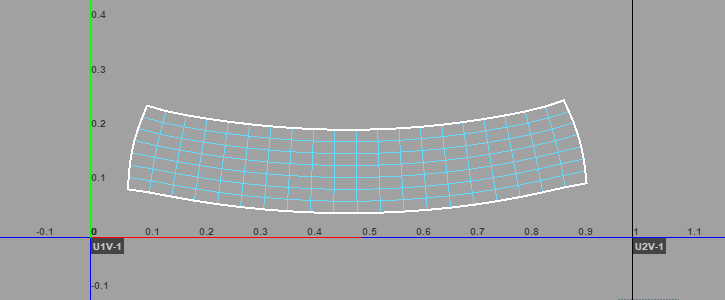
- Straighten UV Shells:
- Select an edge loop of your UV Shell
- Alt click
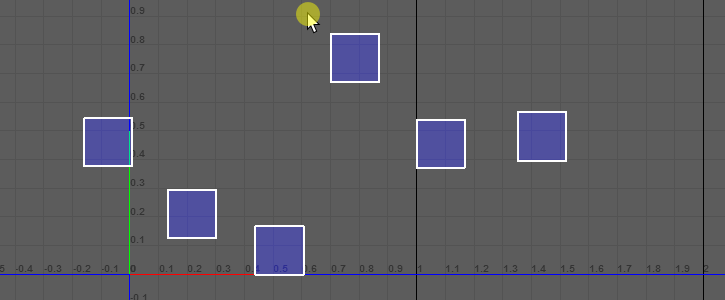
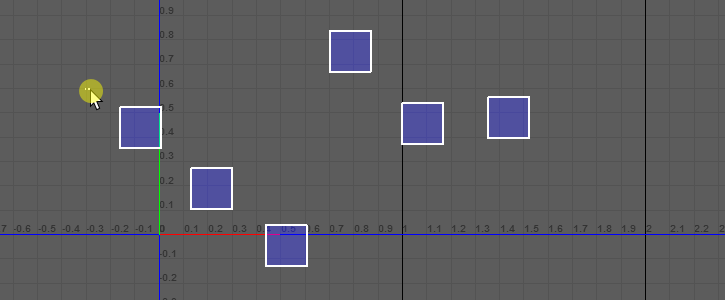
Distribute  #
#
Distribute UV Shells.
How to use
Settings
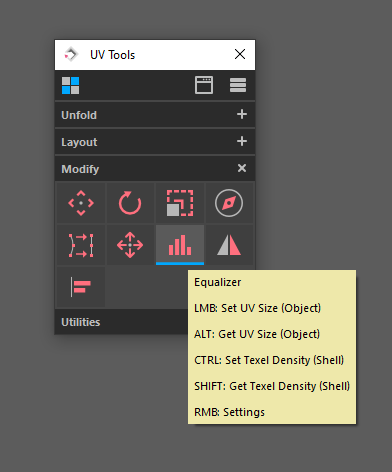
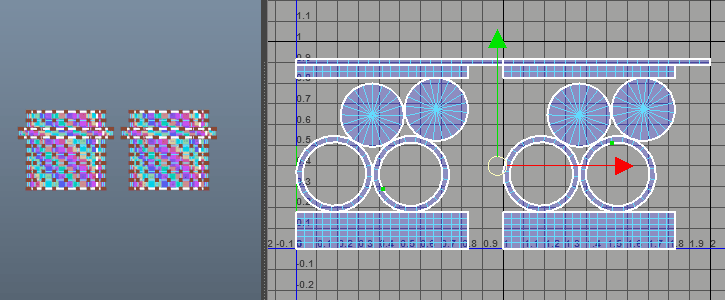
Equalizer  #
#
Match your Objects UV Layout or UV Shells Texel Density to the size of a specified source.
How to use
-
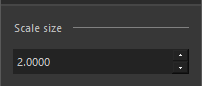
- Select a source object
- Alt click to get the scale size
- Select target objects
- LMB 1 click to set the scale size
For Objects:
-
For UV Shells:
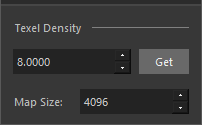
- Set preferred Map Size in the RMB 2 settings
- Select a UV Shell
- Shift click or click on the Get Button in the RMB 2 settings to get the scale size
- Select target UV Shells
- Ctrl click to set the scale size
Settings
Flip  #
#
Flip the position of selected UVs or UV shells
How to use
- Flip all selected UVs:
- LMB 1 click
- LMB 1 click
- Flip each UV shell from their individual center point:
- Alt click
- Alt click
- Flip all backfacing shells automatically (Select an object or UVs):
- Shift click
- Shift click
Align  #
#
Align UV shells to a specified reference.
How to use
- Select a source UV shell
- Shift click to set it as a reference
- Select UV Shells that you want to align
-
- Horizontally: LMB 1 click
Align:
- Vertically: Alt click
- Match Position: Ctrl click
- Horizontally: LMB 1 click
Utilities#
Interface - Utilities#
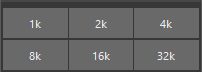
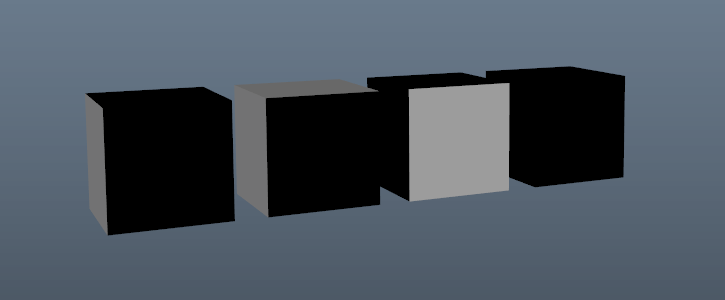
UV Shader  #
#
Creates two UV Shader with custom texture maps (map size is 1K). Useful to check if your UVs are properly unfolded, oriented and equal in size.
How to use
Settings
Transfer  #
#
Transfer UV layouts from source to target objects.
How to use
-
Set preferred Sample Space and Scope in the RMB 2 settings
-
Set Source(s): Select Object(s) and click on the Set Sources button in the RMB 2 settings
Note
If you have multiple source objects, the script will copy
from source 1 to target 1
from source 2 to target 2
and so on, until there are no sources left.
-
Set Targets: Select Object(s) and click on the Set Targets button in the RMB 2 settings
-
Transfer: LMB 1 click
Shortcuts
Set Sources: Alt click ![]()
Set Targets: Ctrl click ![]()
Settings

Fixes  #
#
Automatically fix backfacing face normals or UV Shells.
How to use
- Backfacing Face normals: Select objects and LMB 1 click
- Backfacing UV Shells: Select objects and Alt click
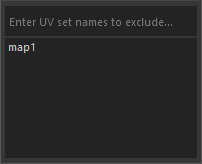
Remove UV Sets  #
#
Automatically remove UV Sets.
How to use
Settings